Tents are what the vast majority of people stay in on the playa. They're the most cost-effective option, and aside from having an RV delivered to the playa for you (pricey!), they're the easiest.
What's Important in a Tent?
- Sturdiness. Very sturdy. The winds in the Black Rock Desert can get very strong. Gale-force strong. Your tent should have both a strong metal frame and be staked well to the ground, with good, strong tent stakes or lag screws. The flimsy things you get with an el cheapo tent down at Walmart will not hold your tent to the ground in a big windstorm, and the last thing you want is to be the person running down the street chasing a runaway tent. Take this warning seriously please. Canvas tents are the way to go if you can afford them - they're heavy, more dust-resistant, and won't rip in high wind. However, canvas tents are also very heavy and bulky.
- Size. Not strictly necessary, but a lot of people are there for a week or more and it's a pretty intense environment. It's nice to have some space inside your tent. I particularly recommend a tent you can stand up in.
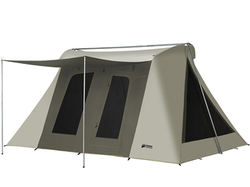 Kodiak 10'x14' tent.
- Waterproof. Yes, it does actually rain out there sometimes, and when it does rain, having a dry place for your things and you to be is very desirable. In 2014, it full-on stormed on Monday morning. I lay on my comfy camping bed enjoying the cool temperature and the sound of the rain, bone-dry. You can roll the dice, and you'll probably be ok...until you aren't.
- Dust-proof. Whether this is important depends on your dust tolerance. Myself, I don't like living in a pile of dust after two days, so dust-proof matters to me. The key is to make sure that any mesh openings in your tent also have a solid material flap that zippers over them. You're never going to keep your tent 'clean' for a week, but there's a giant difference after only a single dust storm between a tent that's relatively protected against the dust and one that's not, where you can expect everything in the tent to have a fine, visible layer of dust over it, at best.
If you need to, you can always cover mesh panels on your tent with some other fabric and strong tape, or via sewing fabric over the them. - Good, strong zippers. The playa dust can cake onto zippers and you want one that you can really yank on if necessary, without risking breaking it or tearing your tent.
I've used two different tents out there, with two of us to a tent.
1. A 10'x14' Kodiak Deluxe (pictured above) which runs around $650. It's very strong, of excellent quality, and will last you a lifetime if you take care of it. It's completely waterproof (discovered that Monday morning this year when it was raining on the playa) and almost completely dust-proof when sealed up. It's easy to set up, has some great features (like an overhead storage net, lots of ringlets around the top to hang things from), and is generally an awesome tent. You'll see a lot of Kodiak tents out there for a reason. If there's just one of you, Kodiak offers a 10x10 that'd also be nice, though personally I'd still go for the 10x14.
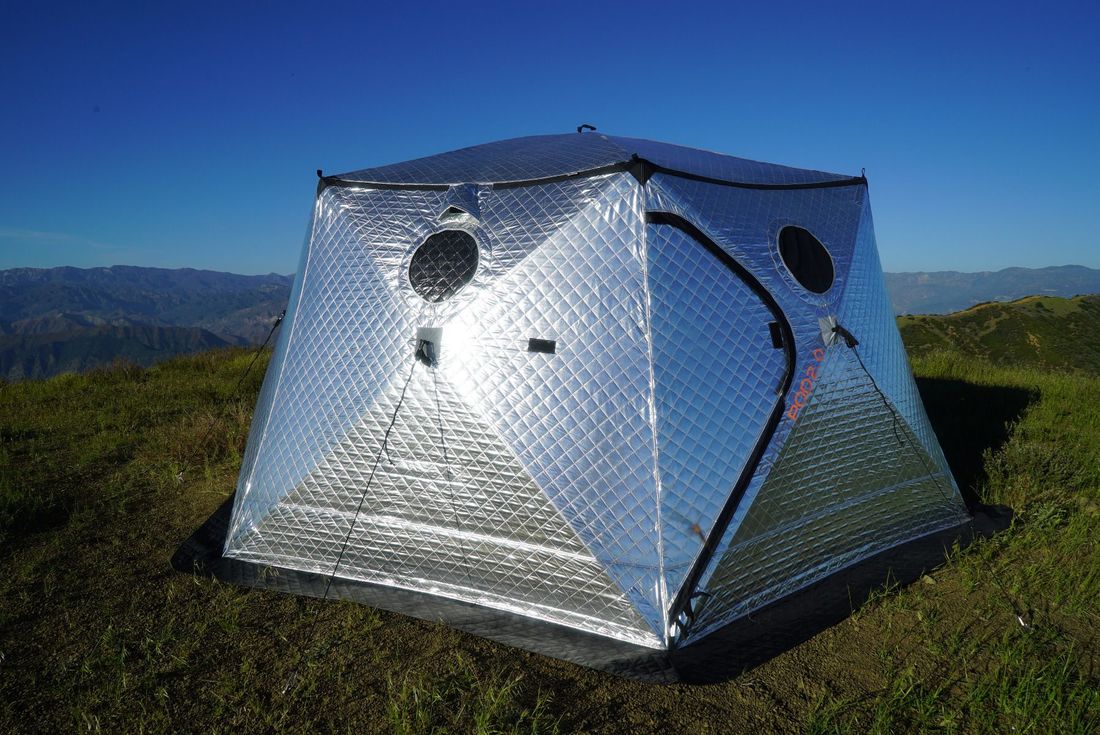
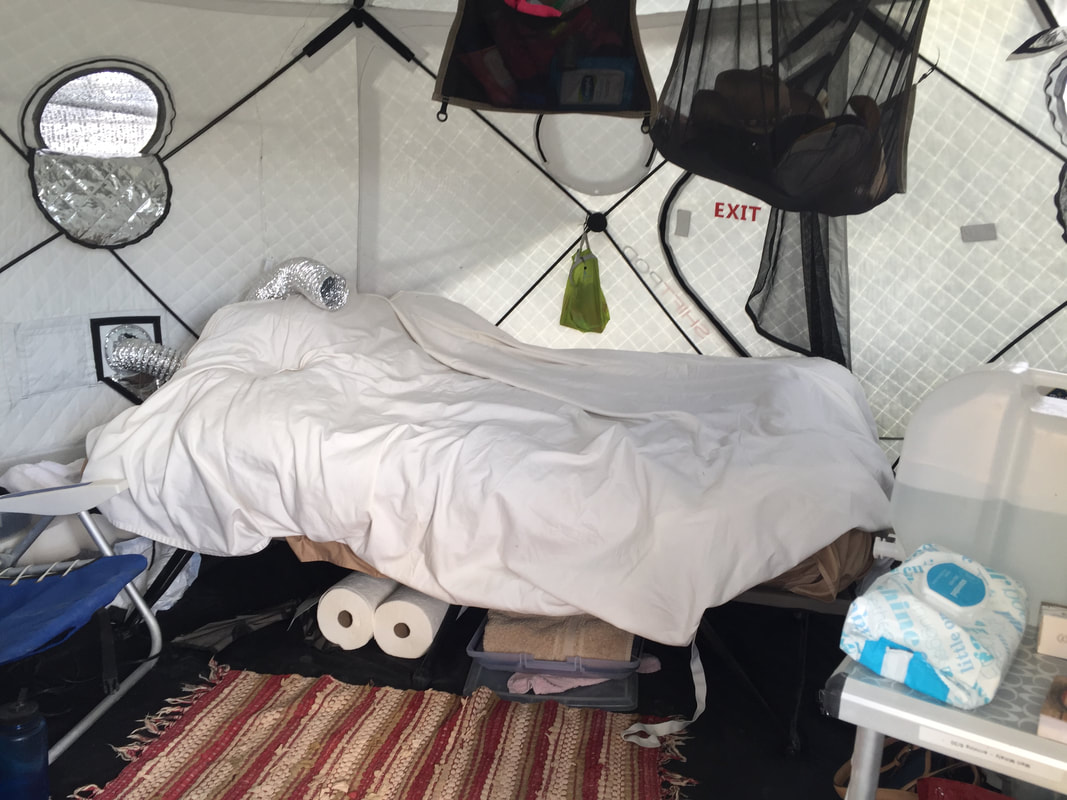
2. The Shiftpod 2. This is modeled after portal pop-up ice-fishing shelters, and I overall prefer it to the Kodiak. It does, however, cost about twice as much as the Kodiak - about $1300. The Kodiak isn't hard to set up, but this thing is incredibly easy to both setup and takedown. I don't think much of the reflective coating on it in terms of preventing it from heating up, but it is significantly more spacious than the Kodiak because the walls don't slope in nearly as much, giving you far more space inside. It also has built in ports for aircon or swamp cooler ducting.
That said, if I had to guess, I'd say the Shiftpod will not last nearly as long as the Kodiak if the latter is well-taken care of. Just a guess though.
That said, if I had to guess, I'd say the Shiftpod will not last nearly as long as the Kodiak if the latter is well-taken care of. Just a guess though.
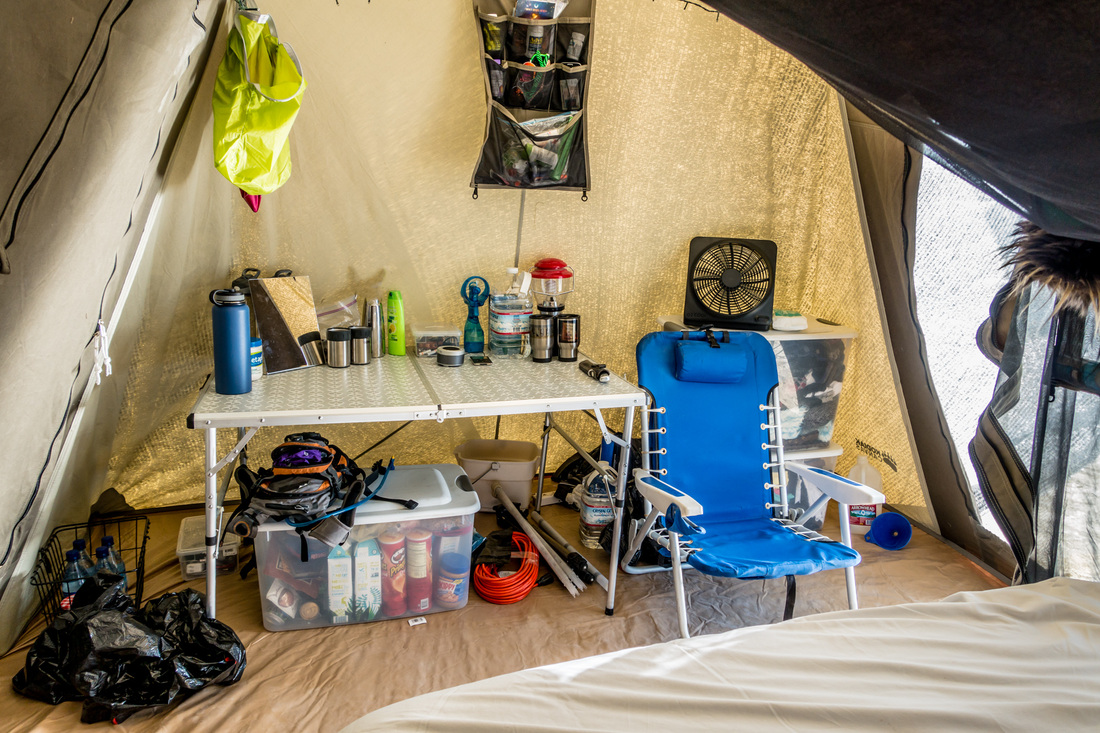
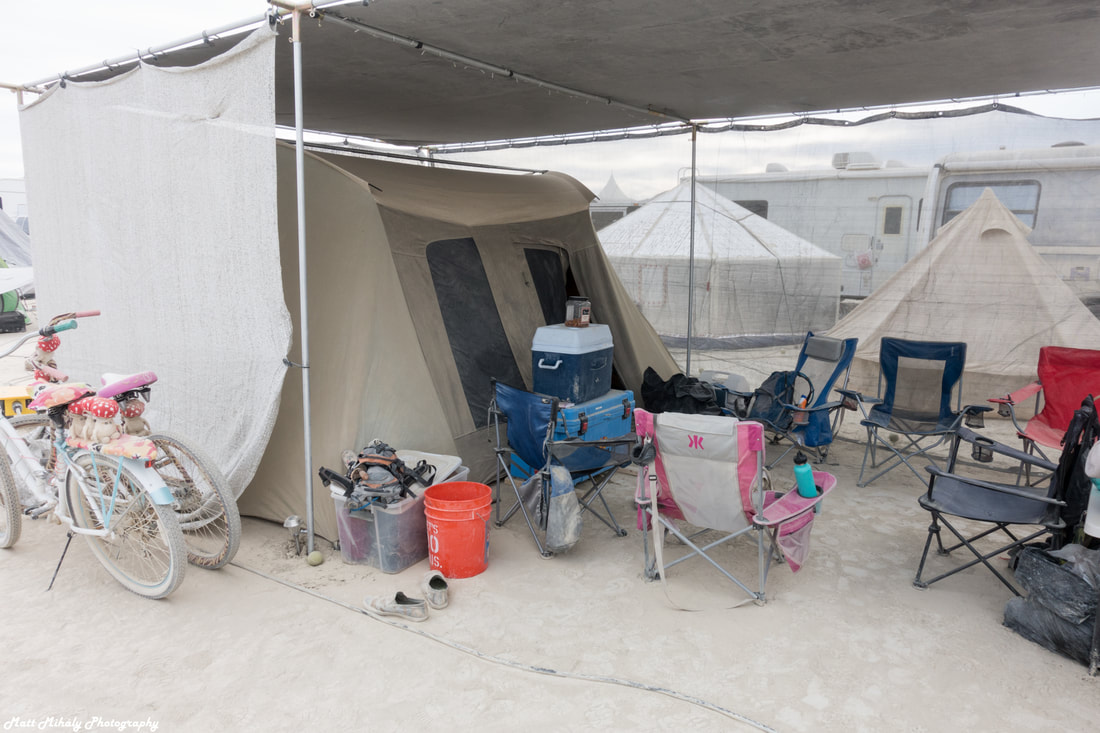
I have some pictures down below on this page of a couple different Kodiak setups I've used, and the Shiftpod's interior.
Shade - You Want It!
When the sun comes up on the playa, your tent will start to heat up. Without shade, it will be an oven by 8:30 am. If you're not a night person, that's probably ok. If you like to go out at night, however, that's probably not so great.
Four (of multiple) options for shade over your tent are:
Four (of multiple) options for shade over your tent are:
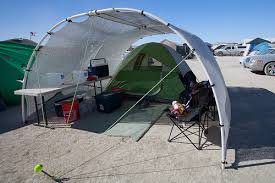
- Carport-style structure- An excellent option at the expense of it being more hassle to set up and transport. It's basically a light steel frame canopy with a heavy fabric ceiling and with optional fabric walls. Just set it up over your tent and stake it down very security with rebar.
Costco sells a very popular 10' x 20' carport. The option I use is from Blackrock Hardware - they're Burners and the proceeds from their (fairly popular) canopy sales go to support their Empire of Dirt camp. But, you pretty much need to be Bay Area-based to avail yourselves of them, as you have to physically pick up the gear. - Monkey Hut - As good as and possibly better than a carport, depending on various factors. Good instructions on how to build one yourself here.
- Shade cloth - Perhaps not quite as good as aluminet, but cheaper and with much the same advantages. You can get it places like here.
|
Other Options to Cool Your Tent
- Fans. This is fairly obvious, but if you can power a fan, you can cool yourself a bit! You can google yourself battery-powered fans if you don't have a way to plug one in.
- Swamp Coolers. These work via moisture and evaporation. They require two things: a dry environment (such as Black Rock Desert), and air circulation. (More to come.) They're cheap to power and cheap to buy. They're also cheap and easy to make yourself. A Burner known as Figjam has an excellent guide for building your own here. I built one for my Shiftpod in 2017, and it didn't do much to cool the interior (too much airspace in the shiftpod vs the swampcooler's ability to move cooler air in), but when I stuck the flexible dryer ducting the cool air was coming out of under the sheets on my cot, it was almost too cold. Really nice!
- Air Conditioners. If you can secure an electrical connection via a camp-wide grid or plug into a personal generator, you could run an air conditioner in your tent. I feel like that may be overkill given that you're in a tent but to each her own. Just make sure you have a way to vent it properly.
Securing Your Tent
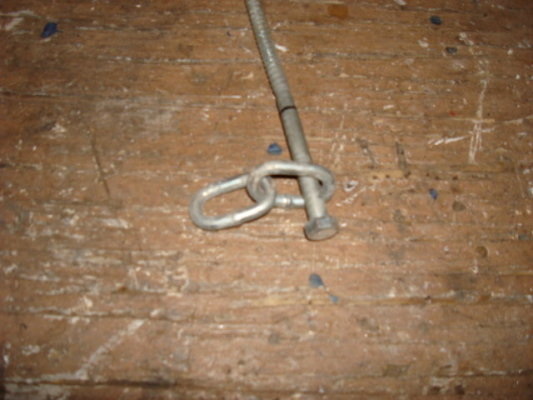
The wind is no joke out there. Most normal tent stakes will get bent and uprooted in strong winds, leading to tent collapse or worse - your tent literally blowing away and possibly injuring people as it flies through the city. If you ARE going to use crappy little tent stakes, just make sure you're keeping something dense and heavy in your tent so it if there is a problem, it stays in place. For example, a cooler full of drinks and ice. Your clothes bins probably won't do it.
|
- Getting rebar back out again can be a pain in the ass. An easy option that works for me is taking a pair of locking vice-grip pliers and clamping them on a few inches above the base of the rebar. Now take a piece of sturdy wood (2x4 or something) and you can use the locked pliers to lever the rebar out. I use one of the pieces of wood that I stick under my my coolers to keep them off the hot ground.
Tips
- Organization. Your tent will feel a lot bigger if you can keep it organized. By the end of the week, it can otherwise be absolutely maddening looking for that <thing> you know you had somewhere otherwise. Keep things in tubs or a set of plastic drawers if you have space. Keep frequently-used things like sunscreen and sunglasses near the entrance of the tent, so you can grab them without setting foot inside the tent.
- Elevated bed. A camping bed frame (you can google up one from Coleman) that keeps your mattress off the floor really helps keep the dust down on your bed, and makes you feel like you're sleeping in more of a normal bed. It also greatly helps with storage space, as you can put tubs of things you don't need frequently underneath the bed.
- Cover your sleeping area. I put a simple sheet down on top of my air mattress and pillows to protect them from any errant dust that gets in during the day.
- Don't wear your shoes into the tent. Fastest way to get dust everywhere.
- If you must use rebar, put tennis balls on the end that is jutting out of the playa. Falling on rebar can hurt you or someone else quite badly, and a simple tennis ball on the end (cut a slit in it first, of course) will largely prevent that. Be careful when walking around rebar in general. I opened up both my ankles one year from contact with rebar. Really, unless you're building something that absolutely requires it, use lag screws.
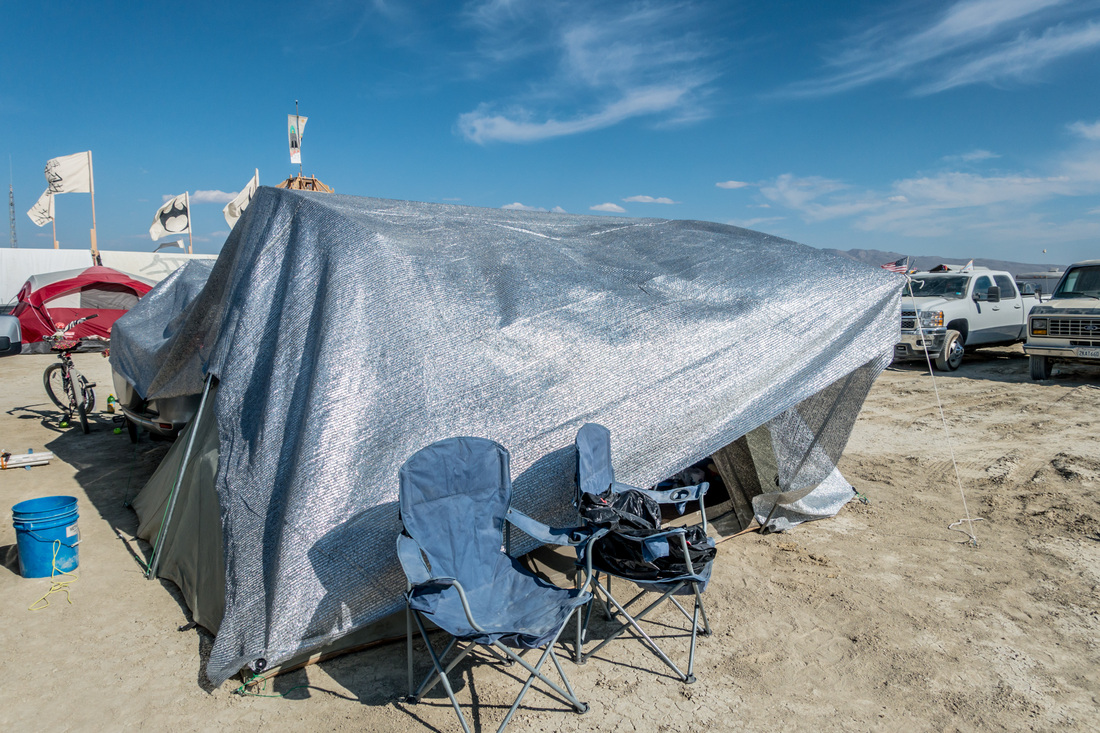
Here's my setup from 2014. In previous years, I'd used RVs, but decided I wanted to start camping instead. Aluminet covering over a Kodiak 10'x14' tent:
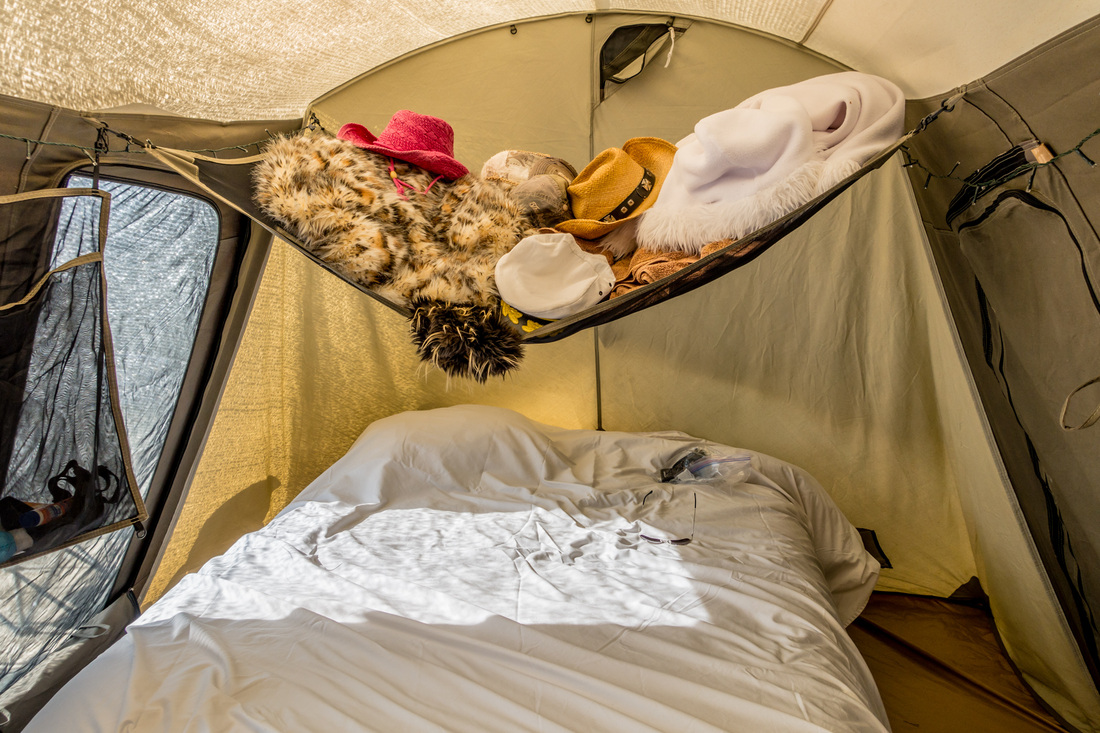
This is one of my favorite features of this tent. We kept most of our clothes in bins, but coats and hats are bulky. Putting them in the 'attic' of the tent worked really well. The bed is a Coleman camping bed that sits high enough to store bins underneath - really helps maximize the space in your tent. There's also a psychological aspect to sleeping on an elevated bed rather than just dropping an air mattress onto the floor. It feels more comfortable whether it really is or not. (And again, the extra storage space is a big win.)
Comment Form is loading comments...

